Last year was my first summer getting to know our dinky charcoal smoker/grill. I used it and cursed it in equal amounts but that little capsule always came through for me. It taught me how to confidently cook outdoors and to have fun playing with fire in the process. Fire was something my sisters and I grew up around (albeit much too comfortably). My parents would burn dead leaves on odd weekends and from watching them, we learnt how to use old newspapers to build fires over just about anything. We would watch my dad cook over a cement grill at family parties and as kids, it was normal for us to know how to strike matches to light candles during many a Goa power cut.
I feel I’ve gotten even better cooking on our new grill this year (Dinky smoker/grill found a new home). I’ve cooked salmon on grape leaves using this idea from one of my favourite blog, burgers, steaks, bread, every vegetable possible on and off a skewer and delicious corn on a cob. I wanted to share some tips on what has made this process easier for me. Some of it might apply to things that are readily available in the US but for those that aren’t, I’m sure you can think of ways to go around. You can DIY a chimney too!
I going to write a lot now but I promise it’s all useful information for a first-timer. Plus I broke the information up with pictures so you can take it all in in sections. Take time to read through it and always remember to use caution and common sense while around a grill. Fire needs oxygen to burn. That’s the best tip of them all. Full disclosure: I *just* backed into the chimney and burnt my calf.
My favourite tools

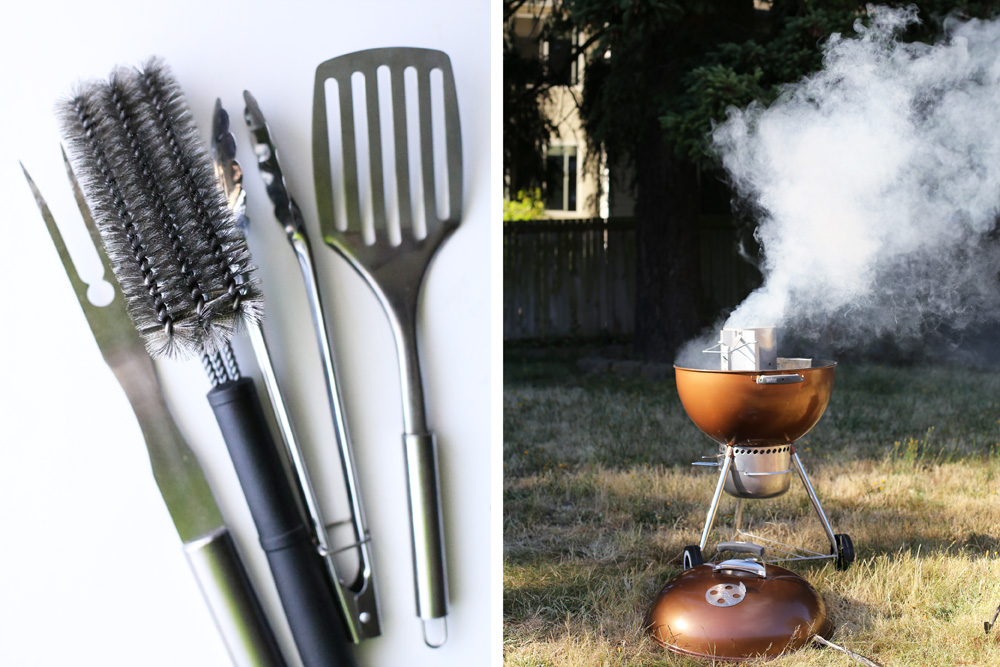
Chimney: As soon as we got our first charcoal grill three years ago, I was convinced by a Food52 video that I needed a chimney. They were right. If you do everything right, your charcoal will be ready in 15-20 minutes. We own this one from Weber. It costs $15 but you can get others for under that.
Charcoal: Now that you have your chimney, you need your charcoal. We go with the standard grocery store bag of Kingsford charcoal (Original). There was a time when I thought the bags of fast light were the best thing (who doesn’t like charcoal that you can light on fire without the hassle) but unfortunately they smell like lighter fluid and will make your food taste that way too. The bag of Kingsford Original burns for an hour so you can grill a plenty with one chimney full of charcoal.
Snail mail coupons/ads: You know all those ads that you get in your mailbox and never use? Okay, maybe that’s just me. I use them to start the fire in the chimney. Cut out the coupons for pizza and burn the rest.
Matches: You don’t need a lighter. I have played with matches from when I was much too young so if you can figure out a way not to burn yourself, while lighting the paper on fire, use them. You get long matches, which work great for this purpose. It beats setting up the grill and finding out your lighter is out of fluid.
Miscellaneous tools: Metal tongs, metal spatula, grilling fork, soft brush and wire brush (for cleaning). These are tools I always use while grilling. You don’t need to go out and buy an extensive grilling set if you already have these items at home. I also recommend a heat-resistant grilling glove set for safety purposes. I don’t use one myself, but sometimes I do see the benefits of it.
A household thing you may or may not have but it’s nice if you do: Aluminium foil. You can wrap vegetables in it with garlic and butter or slide it under meat or fish that seems to be cooking too fast on the outside. Last week, I wrapped a whole eggplant in it and left it on the grill. Then I peeled it and made it into dip.
One thing I’m always happy I have in retrospect: Wooden skewers! I have a thick bundle of them that I only use in the summer. The rest of the time I wonder why I even have this stuff. It always comes through for me when the sun comes out. While buying skewers, keep in mind how wide your grill grate is and buy the bundle that will fit comfortably on it.
Spray bottle with water: For flare-ups, just in case. Don’t panic if there are flare-ups. I control them by moving the meat to a cooler spot. I guess heat-resistant gloves would come in handy here, eh?
Lastly,
A grill: No matter what kind of grill you own, get to know it. Every recipe or technique you might read is useless if you don’t know how much charcoal to use or how to close and open the vents to allow easy air flow. Read the instruction book it came with or just screw up a few times (and be okay with it). You will get better. Practice with cheaper ingredients at first (potatoes…lots of potatoes) and then go to the fancier stuff. This is our grill and it’s a great buy.
Gas V/s Charcoal
It’s all about flavour. Sometimes I wish we had both grills so I could cook outside without having to start a fire but then I remember how much better things taste and I slap myself. That smokiness is a definite advantage that charcoal has over gas. You can buy “flavoured” wood chips to put on your gas grill to give it that wood smoked-like flavour but I have never tried it so I can’t recommend it. If you live in a place where you can’t own a charcoal grill, it’s worth a try.
You are ready to begin!

Handy tips
Don’t leave your grill alone. It gets sad: Okay so maybe it doesn’t but I think it’s silly to walk away from a grill and show up 10 minutes later expecting a miracle. You need to watch how your food cooks. Fire is an unpredictable element and it can change in an instant. Stick around so you’re not surprised.
Single-zone fires are my favourite: I’m not trying to grill championship BBQ in my backyard. Simple everyday cuts of meat, burgers, kebabs and vegetables are just fine with me. Since I know this about myself, I create an easy peasy single-zone fire. This means the charcoal is placed in an even single layer. If you want to create more heat zones (which you may have to sometimes), a three-zone fire is best for just about anything. Pile up the charcoal in a double layer on one part for scorching heat, a single layer right next to it for a medium-high heat and leave it bare in one area to keep things at a warm temperature. The bare zone also works well as a safe-zone. Why? See below.
Flare-ups? Don’t panic: I’m repeating this one because fatty meats or oil-based marinades will cause flare-ups. If you’d like to avoid this, trim as much fat or drip off the excess marinade before putting the food on the grill. A “safe zone” also helps because should you have a flare-up, you can either move the food to that bare area or take it off the grill entirely. It’s also useful to keep a spray-bottle with water nearby should the flare-up become uncontrollable.
How to gauge heat, from my favourite book: How to Grill
Place your hand 4 inches above the fire and start counting “one Mississippi, two Mississippi, three Mississippi….etc”
Two to three Mississippi = high fire (charcoal will glow bright orange)
Four to five Mississippi = medium-high fire (charcoal will glow bright orange with a faint layer of ash)
Six to eight Mississippi = medium fire (charcoal will glow orange with a light layer of ash)
Nine to ten Mississippi = medium-low fire (charcoal will be pale orane with a medium layer of ash)
Eleven to fourteen Mississippi = low fire (charcoal will be faint orange with a thick layer of ash)
Grilling this salmon or any fish, for that matter

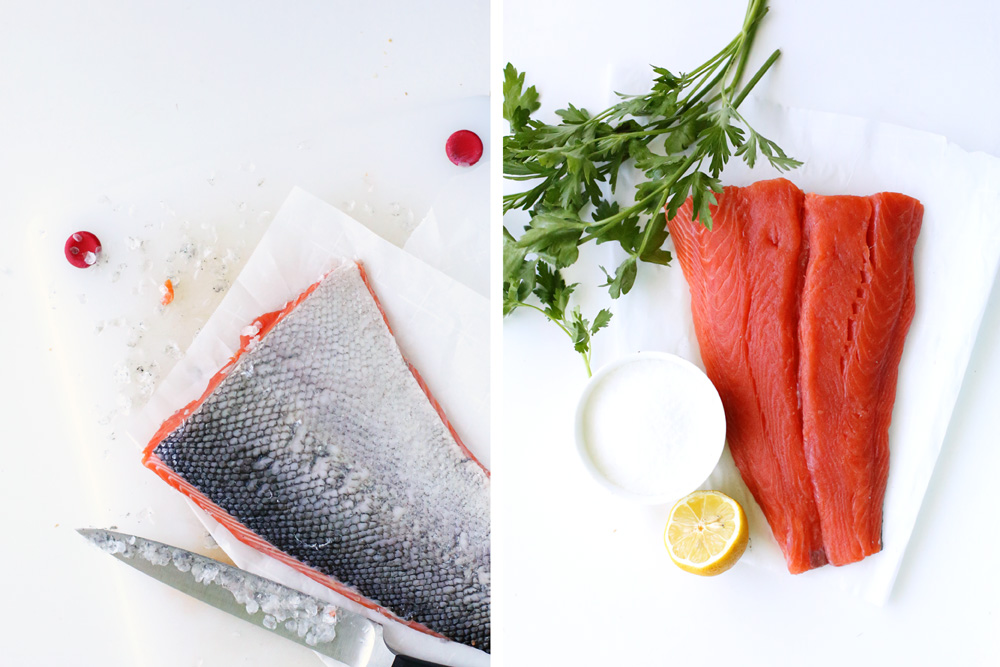
- Scale your fish: Crispy skin is delicious only if you get rid of the scales. If you’re grilling a filet of fish, you will only need to grill it skin-side down. If you’re grilling a whole fish, scale and gut it. Always scale. Use a knife and apply slight pressure as you scrape it starting from the tail to the head (against the direction of the scales). If it’s a filet, brush (don’t wash) off the scales once you’re done. If it’s a whole fish, you may wash it quickly in ice cold water.
- Season it 15 minutes before you cook it: Fish doesn’t need hours of marination like whole meat does. When it’s a fresh fish filet, I just use salt, herbs and lemon and then more lemon and herbs once it’s done. If it’s a whole fish, this masala is heaven as is slices of lemon and coriander leaves.
- Grilling things for fishies: You can buy a fish basket, use a soaked wooden grilling plank, aluminium foil or just slap it straight on the grill. You can also brush the skin of the fish with a single stroke before putting it directly on the grill. Resist the temptation to touch the fish while the skin is searing. When the fish is ready to move, it will do so with little to no resistance. If it isn’t, it will stick.
- Direct heat rules: Your fish should be done in 10-12-15 minutes over direct heat. This means it will be placed on the grate directly over the charcoal and not around it. It needs a short time to cook so you won’t need to move it around much like you would meat or bone-in chicken.
A recipe for grilled salmon

Ingredients
- 1/2 kg or 1 lb salmon, scaled and cut into 3 fillets (1/2 to 1 inch thick)
- 1 cup parsley, minced
- Juice of 1 lemon +1 lemon, halved to serve
- Vegetables like shishito and bell peppers, grape tomatoes, asparagus etc
- Extra virgin olive oil
- Sea salt, to taste
Prepare the grill for direct heat and heat to medium heat.
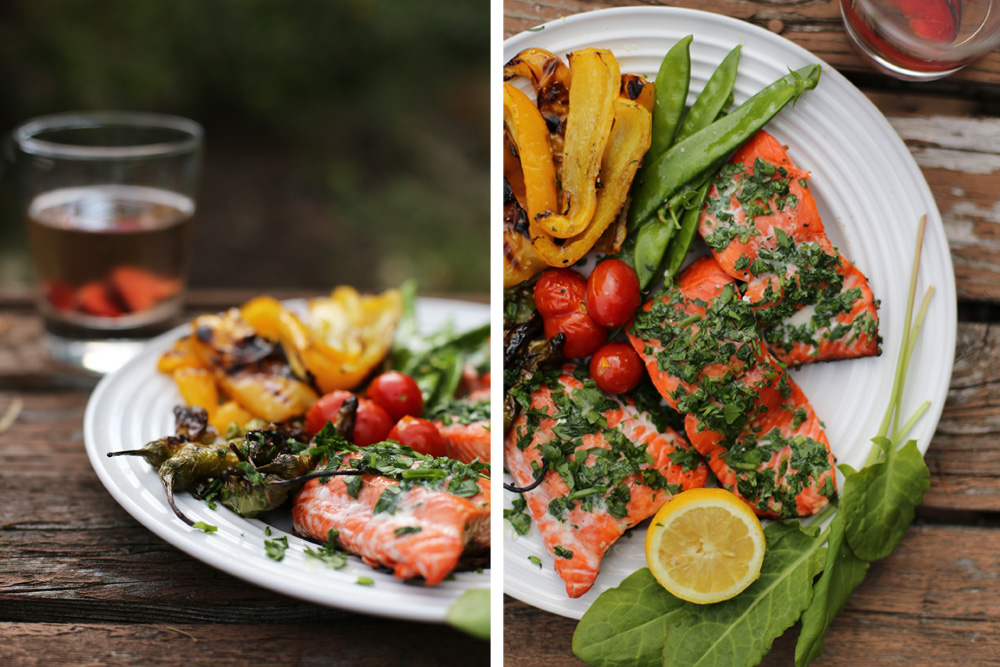
Season the fish with salt and top with 1/2 the parsley. Cut the bell peppers into long strips and lightly toss all the vegetables with olive oil and salt. Squeeze the lemon over the fish and place it on the hot grill skin side down. Place the vegetables around the fish.
Grill the salmon for 10-12 minutes (more if the fillet is thicker). It will turn a bright pink with some white juices running out through the top. I like my salmon rare so I don’t mind taking it off the grill without checking. To check, flake it on the top where it is the thickest with a toothpick. It should ideally be translucent if it’s rare and opaque (more flaky) if it’s well-done. Remember that it will continue to cook after it’s taken off the grill.
As the salmon is cooking, turn the vegetables over so they don’t burn. Move them around to cooler spots on the grill as they will cook quicker than the salmon.
Place all the cooked fish and vegetables on a plate and top with the rest of the parsley. Squeeze the halved lemon over your fish and vegetables along with more olive oil right before digging in.
Happy grilling!
Here are some more salmon recipes from EGD. Picture links are broken for some but you got to see vintage Edlyn and the recipes are killer. So there: 1, 2, 3, 4